Monday, January 31, 2011

Pulled Pork Sandwiches - slowcooker recipe

The bigger my kids get the busier our evenings seem to be. I am trying to find more slow cooker recipes I can make when I know I will have a hectic day. I have been relying more and more on frozen Trader Joe meals for our busy nights but feel guilty about all the sodium and fat in those meals. I made these sandwiches tonight and was very happy with how much meal we got out of an affordable piece of meat. I like the amount of vegetables in this recipe, even my picky eater ate most of them.

Pulled Pork Sandwiches

2 1/2 pounds pork shoulder
1 cup peeled and shredded carrot (1 large carrot)
1 large red bell pepper, diced
1 medium onion, thinly sliced
1 cup water or beer (I used Corona)
1 (12 ounce) jar bbq sauce (the final taste of the meat really depends on the quality of the bbq sauce so try to buy a good brand)
8 whole wheat hamburger buns, toasted

Add the pork, carrot, bell pepper, onion, water or beer, and half the bbq sauce to a 5 or 6 quart slow cooker and stir to combine. Cover and cook on high for 4 hours.

After 4 hours on high, drain about 3/4 of the liquid. Take out the pork, chop the meat coarsely and discard the excess fat. Put the pork back in the slow cooker and add the other half bottle of bbq sauce to the pot. Cover and cook on high for 4 more hours.

When the meat is done, remove from the slow cooker and place on a cutting board. Use two forks to pull the meat into shredded pieces. Put the meat back into the slow cooker, divide the pork mixture evenly between the hamburger buns and serve.
In the pot and ready to cook
Thinly sliced onions
Diced red bell pepper
Shredded carrot
Pork Shoulder

This recipe fit my criteria of being quick to assemble, easy on the pocket book and tasty.  It is a keeper for our family.

Till tomorrow...

Sunday, January 30, 2011

Free-Form Sausage and Three Cheese Lasagna

I love cooking big meals on Sunday nights. I usually have a few hours to cook and don't have to worry about helping with homework or getting laundry done. Tonight I decided to try and make lasagna from (almost) scratch. This was definitely a time intensive recipe, but the results were well worth it. Next time I make it I will double the recipe so I have some leftovers.

Free-Form Sausage and Three Cheese Lasagna

1/2 pound whole wheat lasagna noodles (my one nod toward healthy eating)
3 tablespoons extra-virgin olive oil, plus more for tossing
1/2 pound Italian sausage
1 cup water
4 large garlic cloves, thinly sliced
One (28 ounce) can whole tomatoes, chopped and juices reserved
Salt and freshly ground black pepper
Grated Parmigiano-Reggiano cheese
1/2 pound fresh mozzarella, cut into eight pieces
6 ounces fontina cheese, cut into 8 pieces
1tablespoon butter, softened
1/4 cup thinly sliced basil leaves (or 1/2 tsp dried basil)

Preheat the oven to 425 degrees. In a large pot cook the lasagna noodles in boiling salted water for 5 minutes. Drain and transfer the noodles to a bowl of cold water and let stand for 2 minutes, then drain. Pat the noodles dry with paper towels. Put the noodles in a separate bowl and toss with 1 to 2 TBSP of olive oil, until they are lightly coated.

In a medium saucepan, heat 1 tablespoon of olive oil. Add the sausage and form it into a patty, cover and cook the meat over medium heat, turning once until brown on both sides. Add the cup of water, cover and simmer for 4 minutes.

In a large saucepan heat 2 TBSP of olive oil. Add the sliced garlic and cook over low heat for 3 minutes or until golden brown. Add the chopped tomatoes with their juices and cook over medium heat for 10 minutes, stirring occasionally so the sauce doesn't burn. Add the sausage and its poaching liquid and simmer for 4 minutes. Transfer the sausage patty to a plate. Simmer the sauce over medium heat until thickened, about 10 minutes. Break the sausage up into chunks and season the sauce with salt and pepper to taste.

In a well-buttered 9 x 13 inch baking dish, arrange 3 lasagna noodles in different directions in the dish. Spoon 1/4 cup of the tomato sauce over each noodle and sprinkle with 1/2 teaspoon of grated Parmigiano-Reggiano cheese. Put a piece of mozzarella and fontina on each noodle and add a few chunks of sausage. Repeat the process with the remaining lasagna noodles, tomato sauce, mozzarella, fontina, and sausage, sprinkling with more Parmigiano-Reggiano cheese. Bake the lasagna on the top rack of your oven for 15 to 20 minutes, or until the sauce starts to bubble. Raise the temperature to 450 degrees and bake for 7 minutes longer or until the top is brown. Let the lasagna rest for 10 minutes, then sprinkle the basil on top.

Makes 6 servings
Putting olive oil on the lasagna noodles


Bubbling lasagna sauce
Layering the noodles
Layering the cheese, sauce and sausage
Ready to eat
We had a green salad and some garlic bread to round out our meal. We also had a bottle of 2008 Pied Violet Reserve Zinfandel with our dinner and were quite happy with the pairing. The zinfandel was able to stand up to the tomato sauce and sausage and had a balanced finish without the harshness that can be found in some zinfandels. This lasagna was a lot of work to prepare, but I was so happy with the results I am already trying to figure out when I can make it again.

Till tomorrow...

Saturday, January 29, 2011

Slow-cooked chili and cornbread cake

One of my favorite things to do on the weekend is to hang out with my husbands family, have dinner and share a bottle (or two) of wine. Luckily I get to do this around once a month; it is always loud, chaotic, and I love it. We got together today and I made chili and cornbread for everyone. I believe everyone enjoyed it because when I went back for seconds the crockpot was scraped dry. I need to learn to eat faster if I want more food. If you are having people over for the superbowl this would make a nice easy meal for your guests.

Slow-cooked chili

2 pounds ground turkey (use whatever you have on hand, ground beef or chicken would work as well)
1 (16 ounce) can pinto beans, rinsed and drained
1 (16 ounce) can black beans, rinsed and drained (again, use what you like, kidney beans, white beans, etc.)
2 (14.5) ounce cans diced tomatoes, undrained
1 (8 ounce) can tomato sauce (use two cans if you like more sauce in your chili)
1 medium onion, chopped
1 red bell pepper, chopped
2 cloves garlic, minced
2 teaspoons salt
1 teaspoon pepper
1 teaspoon cumin
shredded cheddar cheese
light sour cream

In a saucepan cook the turkey and onions over medium heat until brown; about 10 minutes. Drain the fat off. Put the meat/onion mixture in your slow cooker. Add the rest of the ingredients except for the cheese and sour cream. Cook on high for 3 hours or on low for 8-10 hours.  The amount of time depends on how fast you want dinner to be ready. Serve with the cheese and sour cream for garnish.

Serves 10

Chopped onions
Browned turkey and onions
The finished chili

I hesitate to call the following a recipe because it is so simple. I will tell it to you like it was passed on to me. Take a yellow cake mix and add two boxes of Jiffy cornbread mix. Make the cake following the directions (and using the ingredients called for) on the back of the box. It might take a little longer for the cake to bake because of the added cornbread mix. This makes a delicious hybrid of cake/cornbread and it is always well liked.

(Thanks to Luna Wong for sharing the recipe with me)

Making the cornbread batter
Close up of the finished batter

The cornbread was cut into and eaten too quickly for me to get a finished picture. I will have to be quicker next time.

Till tomorrow...

Thursday, January 27, 2011

Foil Packet Chicken To Go

Over the past few weeks I have been looking for recipes that are easy to transport. I have been making a lot of dinners lately for families that either have ill family members or have just had a new baby. I have two or three recipes that I always make for others but I would like to find more.  I looked for recipes online and combined a few that sounded the best. I thought I should test the resulting recipe on my family before sharing it with others. We enjoyed it and I feel confident others will as well.

Foil Packet Chicken To Go

1 1/2 cups raw rice (white or brown, whatever your family prefers)
12 teaspoons butter
6 teaspoons dehydrated onion soup mix
4 boneless skinless chicken breasts
Freshly ground black pepper
Salt
8 teaspoons lowfat milk
Paprika

Start by partially cooking the rice. The way you do that is to cook the rice with half the water called for on the package. I have a rice cooker so I put 1 1/2 cups of white rice and 1 cup of water in, then cooked as usual.

Split the cooked rice into four portions. Get a sheet of heavy aluminum foil and put 1 portion of rice on the bottom. Next layer 1 teaspoon of butter, 2 teaspoons of onion soup mix, 1 chicken breast, pepper and salt, 2 teaspoons of butter, 1 teaspoons of milk and top with paprika. Wrap the packet tightly so no liquid leaks out. Make the remaining packets then place all four packets on a rimmed baking sheet. Bake the chicken for 50 minutes at 350 degrees.

Makes four servings.

The packets can be frozen prior to serving. If using frozen packets add ten minutes to the cooking time.
Partially cooked rice
Layered and ready to bake
Right out of the oven

This is a really nice dish to give to others because it is contained and there are no dishes to wash. I also liked how easy it was to put together. I hope you enjoy it as well.

Till tomorrow...

Wednesday, January 26, 2011

Baked Oatmeal

Wednesday nights are pretty hectic for us because both our kids are in extracurricular activities until 6pm. We usually try to eat up our leftovers and this gives me a break from cooking.  I decided to share a recipe with you that I just made for breakfast tomorrow morning. I found this recipe around 7 years ago in a Cooking Light magazine. We have all loved it from the first time we had it and it has become a staple here. I usually end up making this a few times a month.

Baked Oatmeal

2 cups uncooked quick-cooking oats (I have used the non quick cooking oats before and the recipe turned out just fine, so use what you have on hand)
1/2 cup packed brown sugar
1/3 cup raisins (substitute dried cranberries or dried blueberries if your family likes them better)
1 teaspoon baking powder
1/2 teaspoon ground cinnamon

1 1/2 cups lowfat milk
1/2 cup applesauce
2 tablespoons butter, melted
1 large egg, beaten
non-stick cooking spray

The ingredients
Dry ingredients
All mixed and ready to put in the oven

Preheat the oven to 375 degrees, if eating right away. Combine the first 5 ingredients (dry ingredients) in a medium bowl. In a separate bowl combine the milk, applesauce, butter and egg. Add the milk mixture to the oat mixture and stir well. Put the oatmeal into an 8 inch baking dish coated with non-stick cooking spray. Bake at 375 for 20-25 minutes or until heated through. Serve warm
Yield: 6 servings

We always have the ingredients for this oatmeal in our house, which is another reason we have it so much. When I prepare it the night before I mix everything up then cover the 8 inch pan with aluminum foil and put it in the refrigerator. In the morning I put the pan on the counter while the oven warms up, and usually cook it 5 minutes longer than the directions call for. And there you have it a fast yummy breakfast.
Till tomorrow................

Tuesday, January 25, 2011

Wake Up! Breakfast Casserole - aka - A Big Disappointment

I had to work late tonight so I decided to make something my husband could just throw in the oven for himself and the kids. I saw a recipe for this breakfast casserole in the August/September 2010 issue of Taste of Home magazine. I usually enjoy the recipes from Taste of Home but this one was pretty bad. The potatoes were hard and bland and the whole casserole seemed to be missing some key ingredient. I will post the recipe so you can see it for yourself and then write some ideas on how I will try to make it better next time.

Wake Up! Breakfast Casserole

1 lb uncooked chorizo (I used pork)
9 eggs
2 1/2 cups low fat milk
1 Tablespoon ground mustard
1 teaspoon cayenne pepper ( I used 1/2 tsp for my non-spicy loving kids)
1 pkg (28 oz) frozen O'Brien potatoes
2 cups (8 oz) shredded Monterey Jack cheese
1 jar (16 oz) black bean and corn salsa

Crumble chorizo into a large skillet; cook over medium heat for 6-8 minutes or until fully cooked. Drain.

(Chorizo is extremely greasy so I try not to make it too often. When I do make it, I line a plate with paper towels and place the cooked chorizo on the plate. I also pat the top of the cooked chorizo with paper towels to try and get as much grease as possible off the meat and onto the napkins)

In a large bowl, whisk the eggs, milk, mustard and cayenne. Stir in the potatoes, cheese, salsa and cooked chorizo. Transfer to a greased 13 in x 9 in baking dish. Cover and refrigerate overnight.

(My next complaint about this recipe was that they tell you to use frozen potatoes. When I put the frozen potatoes into the egg mixture they were clumped together. I had to get a knife and stab at the potatoes till they fell apart. To get around this problem next time I would thaw out the potatoes beforehand. If I have more time to cook I would prefer to peel, dice and pan fry 3 medium russet potatoes. I think it would really help with the flavor issues this dish had. Unfortunately that turns this recipe into a more labor intensive dish, great if you have the time, off putting if you don't.)

Remove from the refrigerator 30 minutes before baking. Bake uncovered at 350 degrees for 55-65 minutes or until a knife inserted near center comes out clean. Let stand 10 minutes before cutting.

(My husband had to bake this casserole TWO hours instead of the one hour stated in the recipe. I have no idea why it took so long since our oven cooks on the hot side. Usually we know to check any items we are baking about 10 minutes before the recommended cooking time or we risk items being overcooked. It throws a wrench into the evening when dinner takes two times as long to cook as you are expecting. Hungry children whining for their dinner makes it even worst. If you decide to risk this recipe please know it might take awhile to get on the table.)

Yield: 12 servings

With all the bad aspects of this recipe it is doubtful I will try to make it again. There are too many other things I want to try cooking. I did want to post the recipe and my fixes to show you how to play around with recipes to (hopefully) keep making them better and better.

Till tomorrow...

Monday, January 24, 2011

Puerto Rican Chicken and Potatoes

You can probably tell from reading this blog that I love to cook. It relaxes me and it gives me a feeling of accomplishment when I make a dish that everyone enjoys. I am constantly on the lookout for new recipes and saw a recipe a few months ago in the Every Day with Rachael Ray magazine. As soon as I read it I knew my family and I would enjoy it. I am kind of weird when I try out a recipe, I like to follow the directions exactly so I know what the author meant for it to taste like. Once I have made it once I feel free to play around with ingredients to suit my tastes. I changed around the quantities for this recipe because I wanted more potatoes and more sauce in the finished dish. Feel free to do the same to my recipes.

Puerto Rican Chicken and Potatoes

2 tablespoons extra-virgin olive oil
4 skin-on, bone-in chicken breasts
Salt and freshly ground black pepper
1 yellow onion
6 cloves of garlic
2 red bell peppers, chopped
2 teaspoons ground cumin
2 bay leaves
1 pound small, red potatoes, halved
Two eight ounce cans of tomato sauce
2 cups of water
Cilantro, for sprinkling

In a large saucepan heat the olive oil over medium heat. Sprinkle salt and pepper to taste on both sides of the chicken and add to the skillet. Cook until golden brown, about 3 minutes per side. Put the chicken on a plate and set aside. Put the onion and garlic in a food processor and puree until smooth. Add to the skillet (which is still over the flame) and be sure to scrape up any brown bits left from the chicken. Puree the red peppers and add to the skillet. Put the cumin and bay leaves in the skillet and mix well. Increase the heat to medium-high and stir in the potatoes, tomato sauce and 2 cups of water.

Once the mixture is simmering lower the heat and continue simmering for 10 minutes. Add the chicken and cook for 15 minutes, stirring occasionally. Flip the chicken over and cook 15 more minutes, or until the chicken is done. Be sure to continue stirring or else your potatoes will burn. Throw away the bay leaves and sprinkle with cilantro if desired.
Pureed onion and garlic
After 15 minutes of cooking
The finished chicken and potatoes

One reason I really liked this dish was that I often have to cajole my kids into eating bell pepper. They ate this sauce right up and never even knew they were eating veggies. I usually don't like sneaking healthy food to them, but every once in awhile it is nice to not have to feel like I am the food police. I really hope you try this recipe out; I think you will like it.

Till tomorrow...

Sunday, January 23, 2011

Italian style dinner party

I had company over for dinner tonight and felt like experimenting. One of my guests, Emily spent a few years in Italy getting her B.A. in art history. We thought it would be fun to recreate some of the food she enjoyed in Italy, so we picked out a few recipes and gave it a try. Our meal started out with sliced bread with butter and olive oil dipping sauce. Next we had a simple green salad. Our pasta course was fusilli avellinesi pasta with pesto sauce. Next we had potato crusted salmon with tomato-basil cream sauce, and for dessert we had Tiramisu.  There were three of us in the kitchen making this menu and it got a bit hectic because these were new recipes to all of us. Luckily everything came together in the end and all the food was ready at the same time. Emily was in charge of making the pesto and she did an excellent job.

Fresh Basil Pesto Recipe

2 cups fresh basil leaves, packed
1/2 cup freshly grated Parmesan-Reggiano
1/2 cup extra virgin olive oil
1/3 cup pine nuts
3 medium sized garlic cloves, minced
Salt and freshly ground black pepper to taste

Put the basil and the pine nuts in a food processor and pulse a few times until mixed. Add the garlic and pulse a few times more. Slowly add the oil while the food processor is on. Turn off the processor and scrape down the sides if needed. Add the grated Parmesan cheese and pulse until blended. Add salt and black pepper to taste.
Makes 1 cup

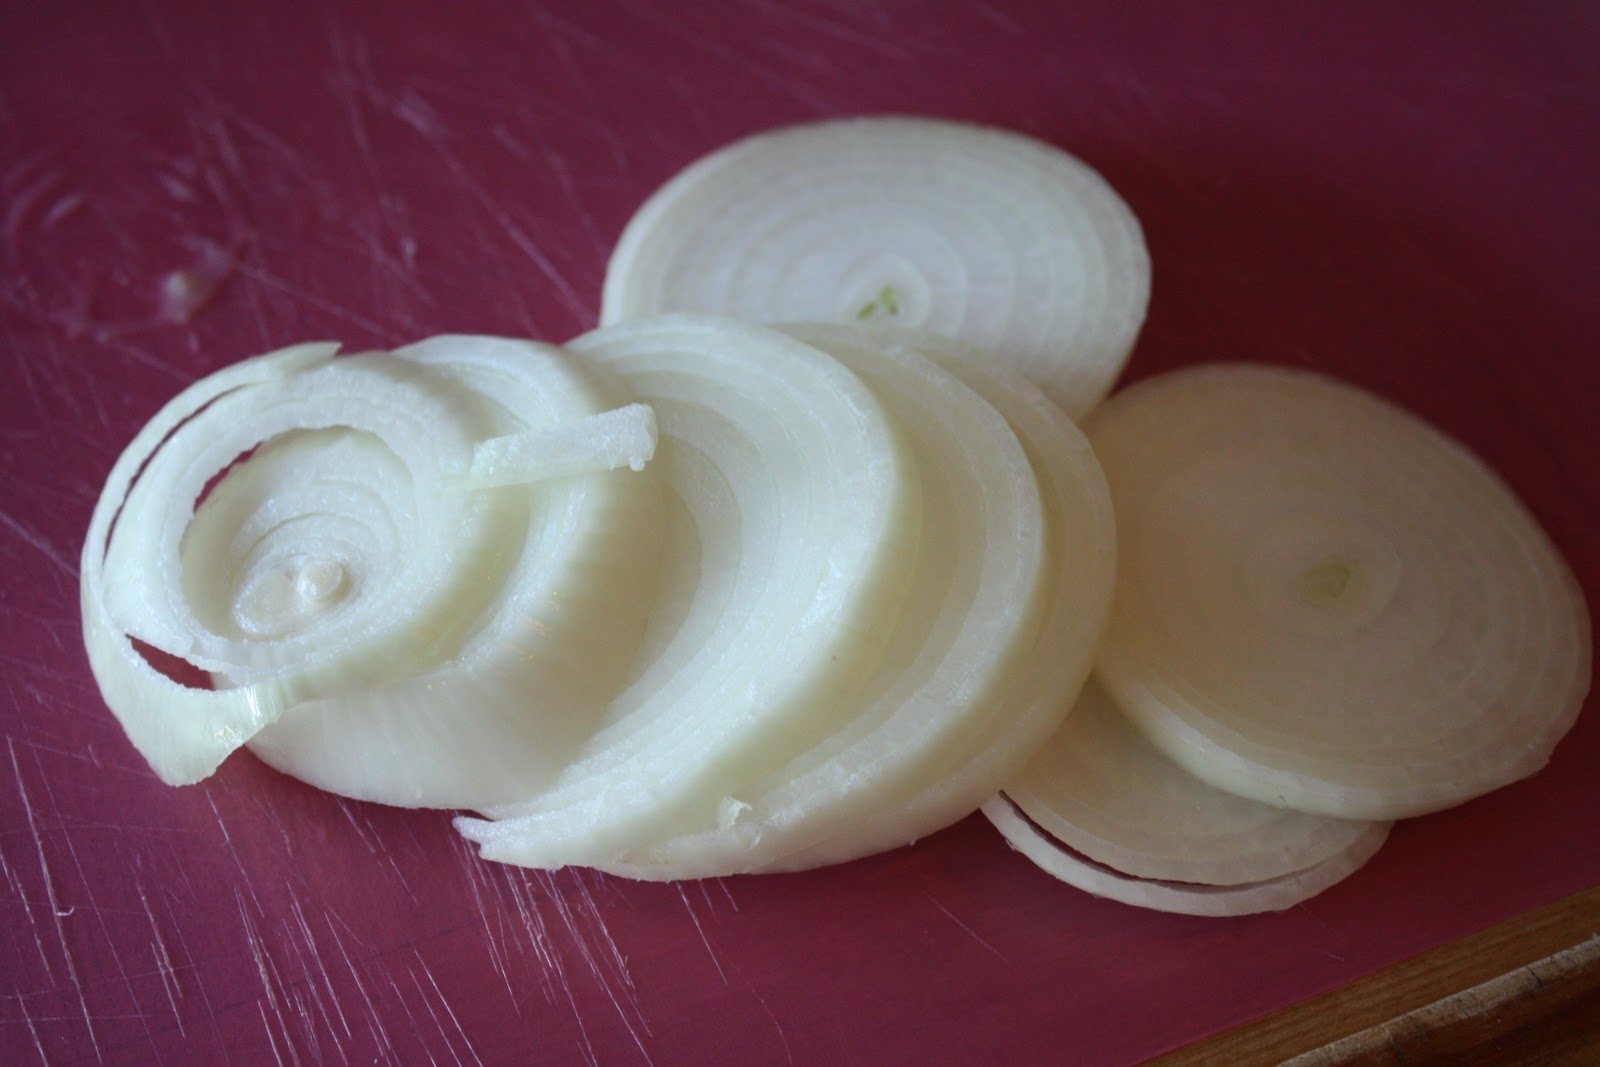
We served fusilli avellinesi pasta with the pesto sauce and I included a picture of the pasta in case anyone was unfamiliar with it. We had to go to an Italian shop to find it.

My husband and I made the main course which was easy to make and was well received by all.

Potato-Crusted Salmon with Tomato-Basil Cream Sauce

6 russet potatoes
6 salmon filets, 6 to 8 ounces each
6 tablespoons, minced shallot
6 ounces dry white wine
10 tablespoons chopped fresh basil
3/4 cup diced tomato
1 1/2 cups heavy cream
butter
extra virgin olive oil
salt and freshly ground black pepper

Potato Crusted Salmon: Preheat the oven to 400 degrees. Peel and grate the potatoes. Try to work quickly because the potatoes will turn brown if exposed to the air for too long. Heat a large saute pan to medium-high heat. Add 1 tablespoon of butter and 3 tablespoons of olive oil. Shape around 1/4 cup of shredded potatoes into a patty and lay in your buttered saute pan. Place the salmon on top of the potatoes and season with salt and pepper. Place another 1/4 cup of potatoes on top of the fish, pressing into the fish with your spatula. You will end up doing this six times, with each salmon fillet.( My pan was not big enough to hold all six fish at a time so I had to cook these in batches). Season the potato with salt and pepper. Cook until the potatoes are golden brown on both sides, about 5 minutes per side. Put the fish on an aluminum foil lined baking sheet and bake for around 7 minutes in the oven, or until the salmon is cooked.

Sauce: In a separate saucepan put 3 tablespoons of butter and the shallots over medium heat and cook about 5 minutes. Season with salt and pepper. Add the wine, and cook until evaporated. Add the tomatoes, basil, and cream, and cook until sauce is thickened, about 10 minutes.
Makes 6-8 servings

Tomato-basil cream sauce
The finished salmon and pasta
Sticking with the Italian theme we chose an Italian wine to go with our meal. We drank a 2007 Michele Chiarlo Barbera D'Asti. The Barbera was full and  flavorful and tasted great with the salmon.

Emily and I made our tiramisu early in the day to give it time to chill. You may notice there is no picture of the finished tiramisu and that is on purpose. This was quite possibly the ugliest tiramisu ever, I didn't know what size pan to use so I used an 8" round cake pan and it was too big. I needed a smaller pan with higher sides. Fortunately the tiramisu ended up tasting good, but I allowed no pictures of the finished product. One of my dinner guests thought not including a picture was cheating, but this is my blog so I can make up the rules.

Tiramisu

3 eggs, seperated
3 heaping tablespoons white granulated sugar
1 1/4 cups mascarpone cheese, softened
1/2 cup strong coffee
3 tablespoons rum
30 cocoa flavored ladyfingers
unsweetened cocoa powder

Whip the egg whites until fluffy and white, your arm will be sore by the time the eggs are ready. In another bowl, mix the egg yolks and sugar. Mix in the mascarpone cheese, then fold in the egg whites. Pour the coffee into yet another bowl (there will be a lot of dishes to wash but that can't be helped) and add your rum and 1 teaspoon of sugar.
In a large dish (I will try a 5x9 inch loaf pan next time) spread 3 tablespoons of the mascarpone cheese mixture over the bottom. Quickly dip the ladyfingers into the coffee then layer half the cookies into your dish. Put half of the mascarpone cream over this layer, then another layer of cake and the rest of the mascarpone. Cover your dish and chill in the refrigerator for at least two hours. Dust with cocoa powder before serving.
Serves 6
Dipping the ladyfingers
Assembling the tiramisu
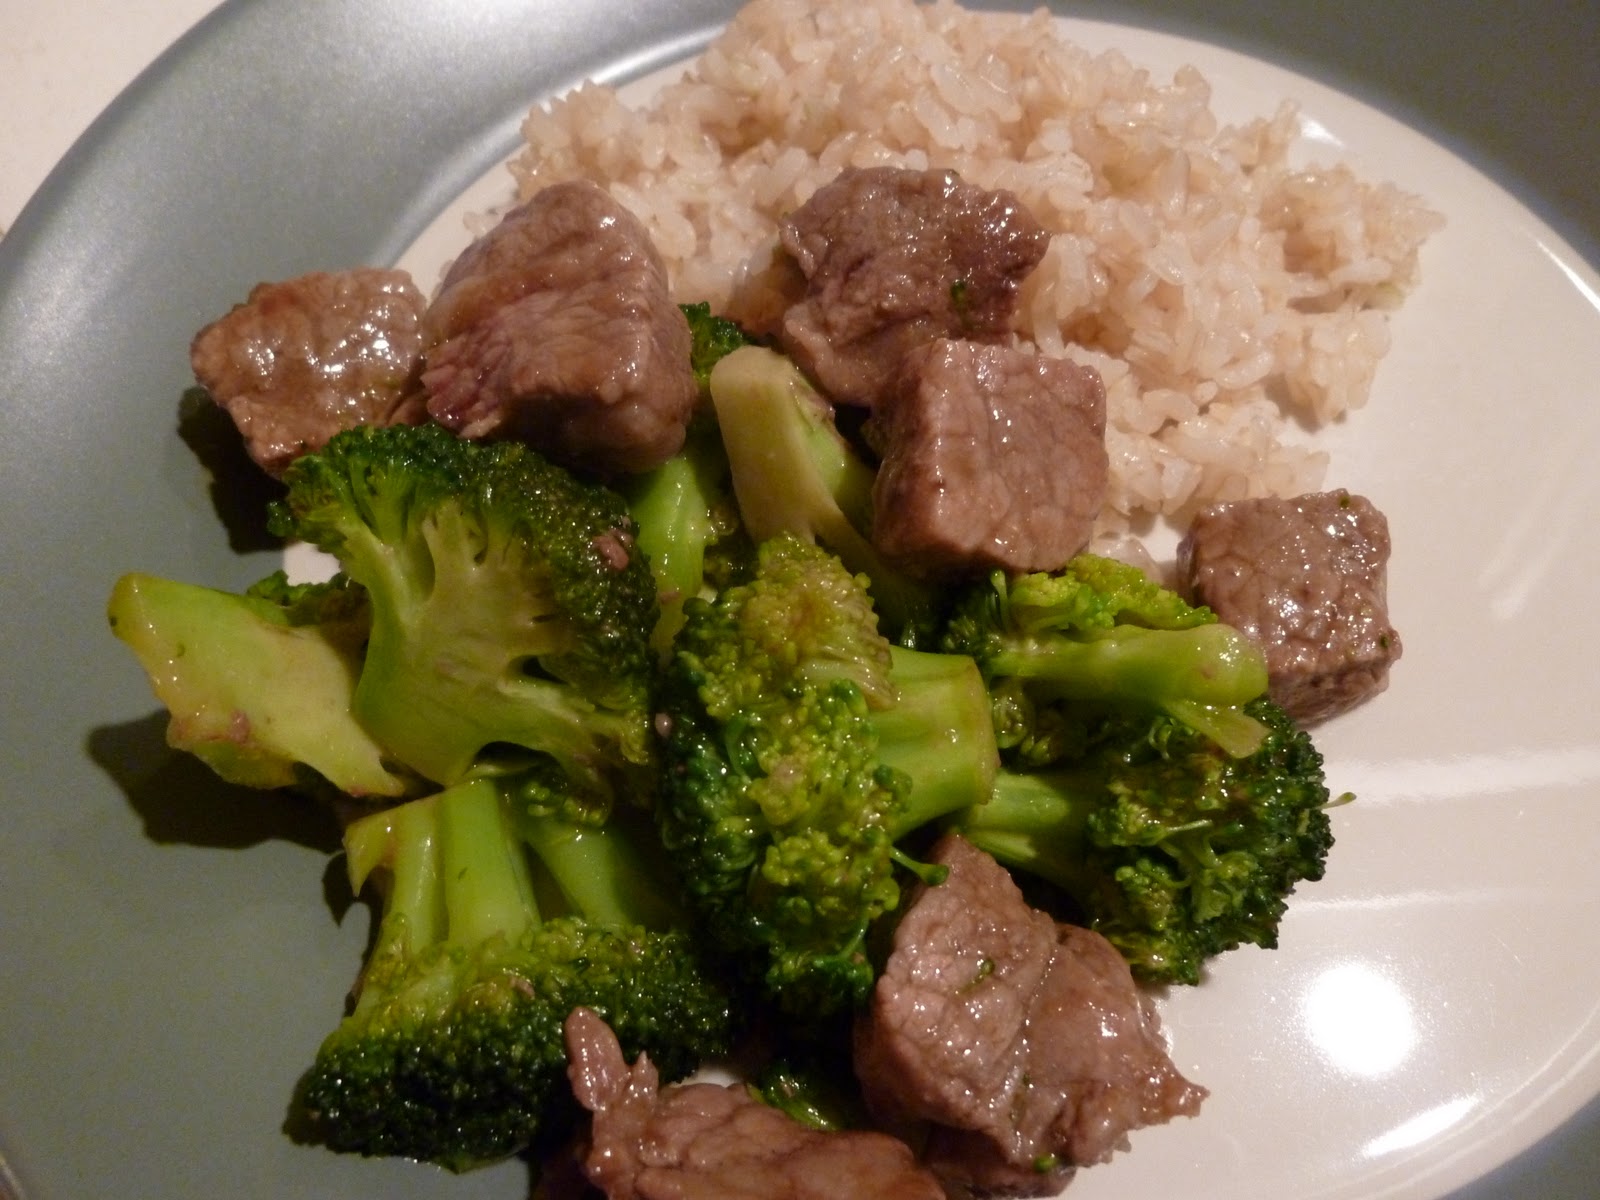
We had such a great time preparing and eating this meal we decided to try to get together once a month and cook together. I believe next month we will be having Chinese food, I can't wait to find some delicious recipes to share with you.
Till tomorrow.....

Friday, January 21, 2011

Ants in my Applesauce

My wonderful husband made dinner tonight and I got to go out with my sister-in-law. (yeah!) I had promised my daughter we would cook together this week, so today was the day. We had a lot of apples so I thought it would be fun to make applesauce. I hadn't made applesauce in years and forgot how easy and delicious it is to make.

Applesauce

9 apples (any variety you want, I used Gala)
1 cup water or apple juice
1/2 cup packed brown sugar
1/2-1 teaspoon cinnamon
1/2 cup raisins

Wash, peel and core the apples. Cut them into 1 inch chunks. Put the apples, water or apple juice, brown sugar and cinnamon into a large saucepan. Bring to a boil then turn down the heat and simmer for 10 minutes. Remove the pot from the heat and let the mixture cool for 10 minutes. Mash the apples with a potato masher if you like chunky applesauce. Put the apples in a food processor or blender for 30 seconds to a minute for a creamier consistency. Mix in the raisins and serve.

Makes 4 big servings


The reason I called this recipe ants in my applesauce is because when my daughter saw the finished applesauce she said the raisins reminded her of ants. It is so easy to tell my daughter, "no" when she asks to cook with me. I can get a lot more done a lot quicker by myself. When I slow down and let her take the lead we end up having a lot of fun together. I hope she and I can do this a lot more often.

Till tomorrow...

Thursday, January 20, 2011

Broccoli Beef

I have recently noticed that I tend to cook the same sort of food for dinners. I make a lot of Italian, Mexican, and North American comfort food. I tend to stay away from food I'm not familiar with and because of that I feel like my family and I are missing out on a LOT of good food. I am trying to keep my eyes open for recipes that feature foods I don't usually prepare, and tonight I took a baby step towards cooking Chinese food. I know that this is not authentic Chinese food, more like an Americanized version, but remember baby steps. I got the basic outline of this recipe from a cooking demonstration put on by my Mothers of Preschoolers group.

Broccoli Beef

1 pound tri tip
1/2 teaspoon salt
1 tablespoon low sodium soy sauce
1/4 teaspoon garlic powder
1/2 teaspoon cornstarch
1 tablespoon sesame oil
1 pound broccoli florets, washed and dried
8 ounces cremini mushrooms, cleaned

For the sauce:
1 tablespoon cornstarch
1 tablespoon low sodium soy sauce
1/2 tablespoon sesame oil
3/4 cup water


Cut the tri tip into bite size chunks. Season the beef with 1/2 teaspoon of low sodium soy sauce, 1/4 teaspoon garlic powder and 1/2 teaspoon cornstarch. Get a saute pan and put 1 tablespoon of Sesame oil inside. Put the pan over medium heat and once the pan is hot cook the meat for 3-4 minutes for medium rare steak. (I like my steak medium rare; if you want yours more or less cooked adjust the cooking time accordingly) Remove the steak from the pan and let it rest nearby.

Mix together the sauce ingredients with a whisk and set aside. Slice your mushrooms then add the mushrooms and broccoli to the pan. Stir fry the vegetables for 4 minutes then add the sauce to the pan. Turn down the heat and cook until the sauce has thickened and become transparent. Add the steak to the pan and cook until just heated through. Serve with brown rice (or white if that is what your family likes).

Serves 4-6 people


I got a thumbs up from my family for this dinner, though it did take quite awhile for my four year old to eat her broccoli. I just keep telling myself baby steps.

Till tomorrow...


Wednesday, January 19, 2011

Sausage Potato Soup and Hockey Puck Popovers


We had a few guests for dinner tonight (my lovely cousins Elizabeth and Emily) so dinner was a blast with lots of conversation and laughter. I had some sausage in the refrigerator that I had to make soon or risk spoilage. I dug up an old soup recipe that I have been making for years. This is in no way health food, so to those of you on diets I wanted to give you fair warning.

Sausage and Potato Soup

1 16 oz package bulk sausage, cooked, crumbled and drained
3 medium baking potatoes, baked, peeled and cut into 1" cubes
1/4 cup butter
1/2 onion chopped
1/4 cup flour
3 cups low sodium chicken broth
1 tablespoon chopped fresh thyme
3 cups lowfat milk
3/4 cup grated fresh Parmesan cheese
salt and pepper

Melt the butter in a large dutch oven over medium heat. Add the onions and saute until golden brown and tender. Stir in the flour; cook 1 minute stirring constantly. Gradually stir in the chicken broth, bring to a boil, stirring frequently until thickened and smooth. Stir in the milk, thyme, sausage and potatoes. Bring to a boil then reduce heat and simmer uncovered for 15 minutes. Stir in the Parmesan cheese. Salt and pepper to taste. Serve hot.
Makes 10-12 servings

My husband doesn't generally like soup for dinner since it is not very filling. I usually try to make a small side for him like grilled cheese sandwiches or biscuits. I wanted to experiment a little tonight so I made a popover recipe I found from the Barefoot Contessa. I have no idea what I did to these poor popovers but they were horrible. They were flavorless and really heavy. I won't share the recipe with you now but will try again and let you know when they come out better.

We had a bit of a disagreement over which wine to pair with this soup. My husband thought a Syrah would work well with the sausage. I was leaning toward a Pinot Noir because of the creaminess of the soup. We ended up opening up both bottles, so it was a win win situation. We had a 2007 Zaca Mesa Syrah and a 2008 Sunfish Pinot Noir.
Enjoy

Photo courtesy of Emily Carpio

Tuesday, January 18, 2011

Pita Wedges with Roasted Feta and Thyme Honey

Dinner tonight was.............
drumroll please................................
leftovers.
Yeah!
I had to work late tonight so my family had to make do with leftovers. I thought I would write about a recipe I made for lunch yesterday, Pita Wedges with Roasted Feta and Thyme Honey. I got this recipe a few days ago from a class my son attended entitled Food of the Gods. It was a great class, the kids learned a lot about ancient Greek and Roman mythology. The class ended with the kids making a 4 course meal that was inspired by the ancient Greeks.
At first I was skeptical of this dish because feta is not my favorite cheese. Once I tried this appetizer I had to restrain myself from going back for thirds. (I had to save a little for the children)
I hope you enjoy this dish as much as I did.

Pita Wedges with Roasted Feta and Thyme Honey

one 8 ounce slab Greek feta, blotted dry
2 tablespoons extra virgin olive oil
1 tablespoon honey
1/2 teaspoon dried thyme
freshly ground black pepper
whole wheat pita bread, cut into wedges
3 tomatoes, sliced (optional)

1. Preheat the oven to 400 degrees.
2. Place the feta in an ovenproof pan then drizzle the olive oil over the cheese. Bake until the cheese is soft but not melted, about 7 minutes.
3. Heat the honey and thyme in the microwave until it is liquid, about 10-15 seconds.
4. Using a pastry brush apply the honey to the surface of the feta. Place the cheese under the broiler until the top of the cheese is brown.
5. Season the feta with pepper and serve with the pita wedges and tomatoes

I am really excited to serve this appetizer at our next family party. I need more people to share it with since I ate around half of it myself for lunch yesterday. It was worth every minute of the stomach ache I had afterword.
Till tomorrow.

Monday, January 17, 2011

Lemon Garlic Shrimp


I had a special request from my father for shrimp, so while browsing my new favorite food blog (the pioneer woman cooks) I noticed her recipe for Spicy Lemon Garlic Shrimp and decided to try it out. It was a huge hit and will definitely be included in my rotation of meals. I made a few changes to the recipe to suit my family.

Lemon Garlic Shrimp (I left out the spicy stuff)
2 pounds raw shrimp, deveined, shells on,
2 sticks cold unsalted butter cut into chunks,
1 tsp Kosher salt,
4 garlic cloves, peeled
1/2 tsp dried parsley
1 lemon, juiced

Heat your oven to 375 degrees and while it is getting hot line two baking sheets with aluminum foil. Place your frozen shrimp in a single layer on the baking sheet.

Put your butter, salt, garlic, parsley and lemon juice in a food processor and process until mixed together. If you don't own a food processor mash it together really well in a small bowl.

Put spoonfuls of your butter on top of the shrimp and place in the oven. Bake until the shrimp is opaque, around 8 minutes. Serve making sure to ladle plenty of juice on top of your shrimp.
Serve with white rice and bread to sop up the juices.

I was a little scared of the amount of butter in this recipe, but the water from the frozen shrimp helps to cut the butter. This recipe fed a family of 6 with some leftover for tomorrow night. However two of the six are under the age of 9 so adjust accordingly for your family. The adults in our group had a bottle of 2009 Verdad Albarino, which paired nicely with the shrimp.

I hope you all have fun cooking.

Sunday, January 16, 2011

Chicken Pot Pie

I thought I would start this blog with an amazing recipe pulled from Gourmet or Bon Appetite. Instead I am starting with a recipe I have been making for years. Chicken Pot Pie.

I love this recipe because it makes two pies. This is a perfect recipe when I have to make dinner for others. I like pot pie because it is easy to make and I usually have all the ingredients on hand. I can't remember where I found this recipe but here it is for your enjoyment.

Chicken Potpies
2 medium potatoes peeled and cut into 1 inch pieces, 3 medium carrots cut into 1 inch slices, 1 onion chopped, 2 celery ribs diced, 2 TBSP butter, 1 TBSP olive oil, 6 TBSP flour, 3 cups chicken broth, 4 cups cubed cooked chicken, 1 cup frozen mixed vegetables, 1/2 cup milk, 1 tsp garlic salt, 1/4 tsp pepper. 1 refrigerated pastry crust (15 oz).

In a 12 inch skillet saute the potatoes, carrots, onion and celery in the butter/oil until tender. Stir in the flour until the veggies are coated. Add the chicken broth and boil (while stirring) for two minutes. Stir in the chicken, mixed veggies, 1/2 cup milk, garlic salt and the pepper. Put your mixture into two ungreased pie pans. Put your pastry on top of each pie and trim and seal the edges. Cut slits into the pastry. At this point you can cook both pies (if you have a large family) or give one away to someone who needs some comfort food. Cook your potpies at 375 for 40-45 minutes or until your crust is golden brown. Let the pies stand for 10 minutes before you cut into them.

I love this recipe, but it is hard to spend an hour and a half making dinner then seeing your family take 15 minutes to eat it up. The things I do for love. We had a bottle of 2009 Edna Valley Paragon Chardonnay with our pot pie. I am not usually a huge Chardonnay fan, but have recently learned to like the less oaky blends. This was a tasty and affordable (10 dollar range) bottle.

Dessert was supposed to be a batch of lemon poppy seed muffins (not from scratch) but I managed to burn the muffins while I was busy with the pot pies. I decided to try again and made an oatmeal pie I had been wanting to try for awhile. I got the recipe from a spice catalog a few months back. The pie seemed easy to make and I had all the ingredients on hand so I gave it a go.

Oatmeal Pie
1 unbaked 9 inch pie shell, 1/2 cup milk, 2 eggs, 1 cup granulated sugar, 1/2 stick unsalted butter, 3/4 cup light corn syrup, 1 tsp vanilla extract, 1/2 tsp cinnamon, 1/8 tsp salt, 3/4 cup old-fashioned oats, 4 oz shredded coconut.

Preheat the oven to 350 degrees. In a large bowl beat together the milk, eggs, sugar, butter, corn syrup, cinnamon, vanilla and salt. Stir in the coconut and oats. Pour your batter into the pie shell and bake for 40-45 minutes or until it is browned evenly. It will be very liquid like when you first pull it out but will harden after cooling for an hour. Serves 8

I enjoyed this pie, but it was REALLY sweet. I think I will have to save it for those days when I need a quick energy burst. (I liked the pie better the next day, once the flavors had time to meld together).

I hope these recipes inspire some of you to try them out.